06 Jan Progressive Technologies Waterjet Controller Retrofit: Installation Process
Progressive Technologies Waterjet Controller Retrofit Install: The Full Process

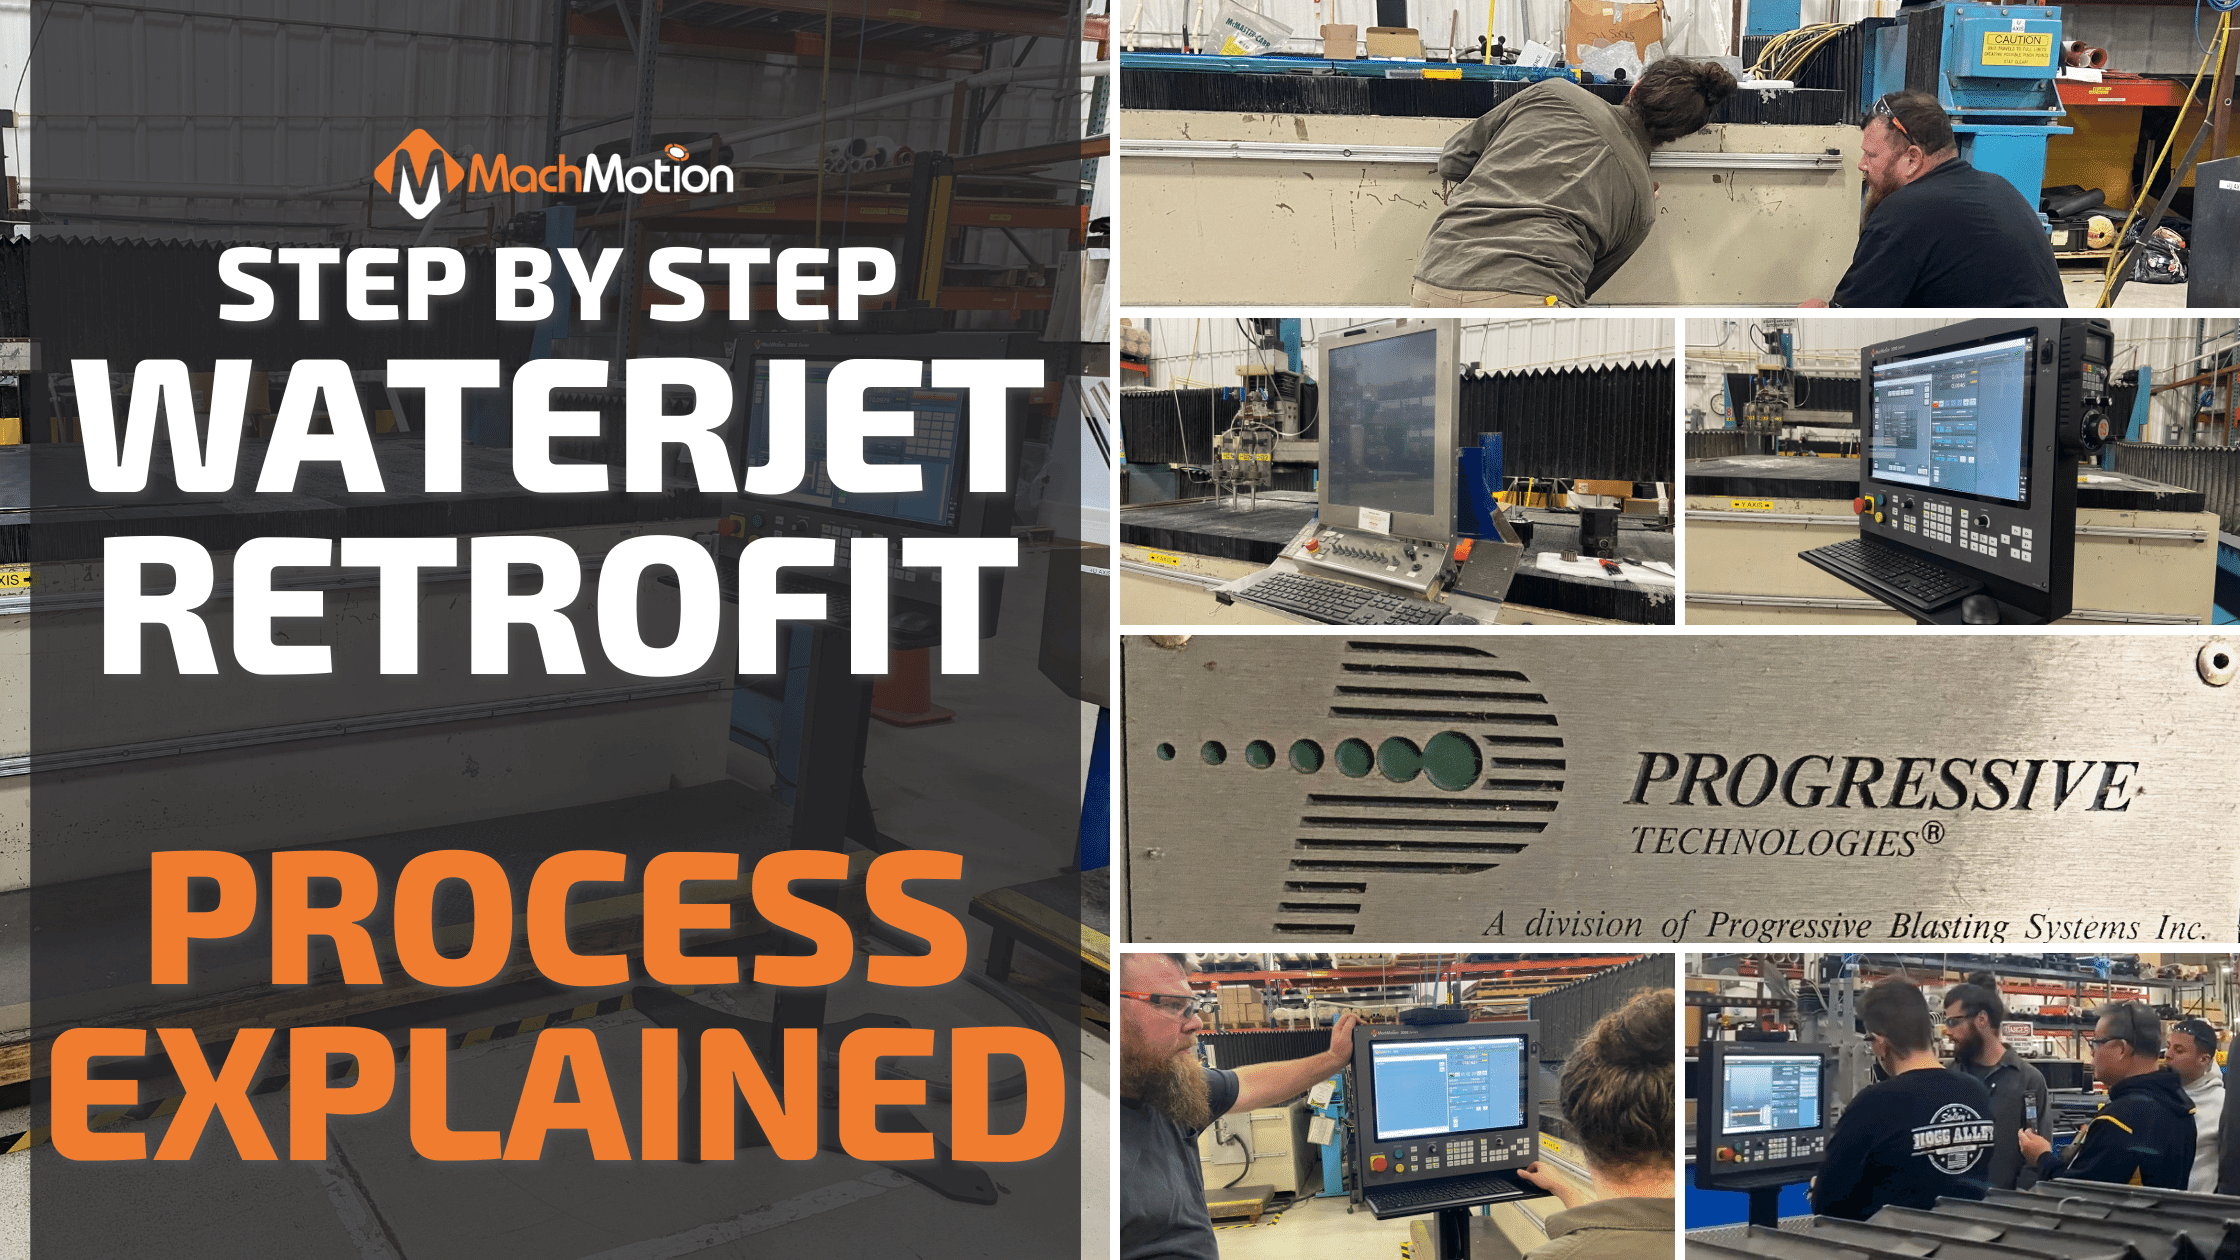
We take the mystery out of CNC retrofits and explain our process step by step for installing a controller upgrade on a 1994 Progressive Technologies waterjet!
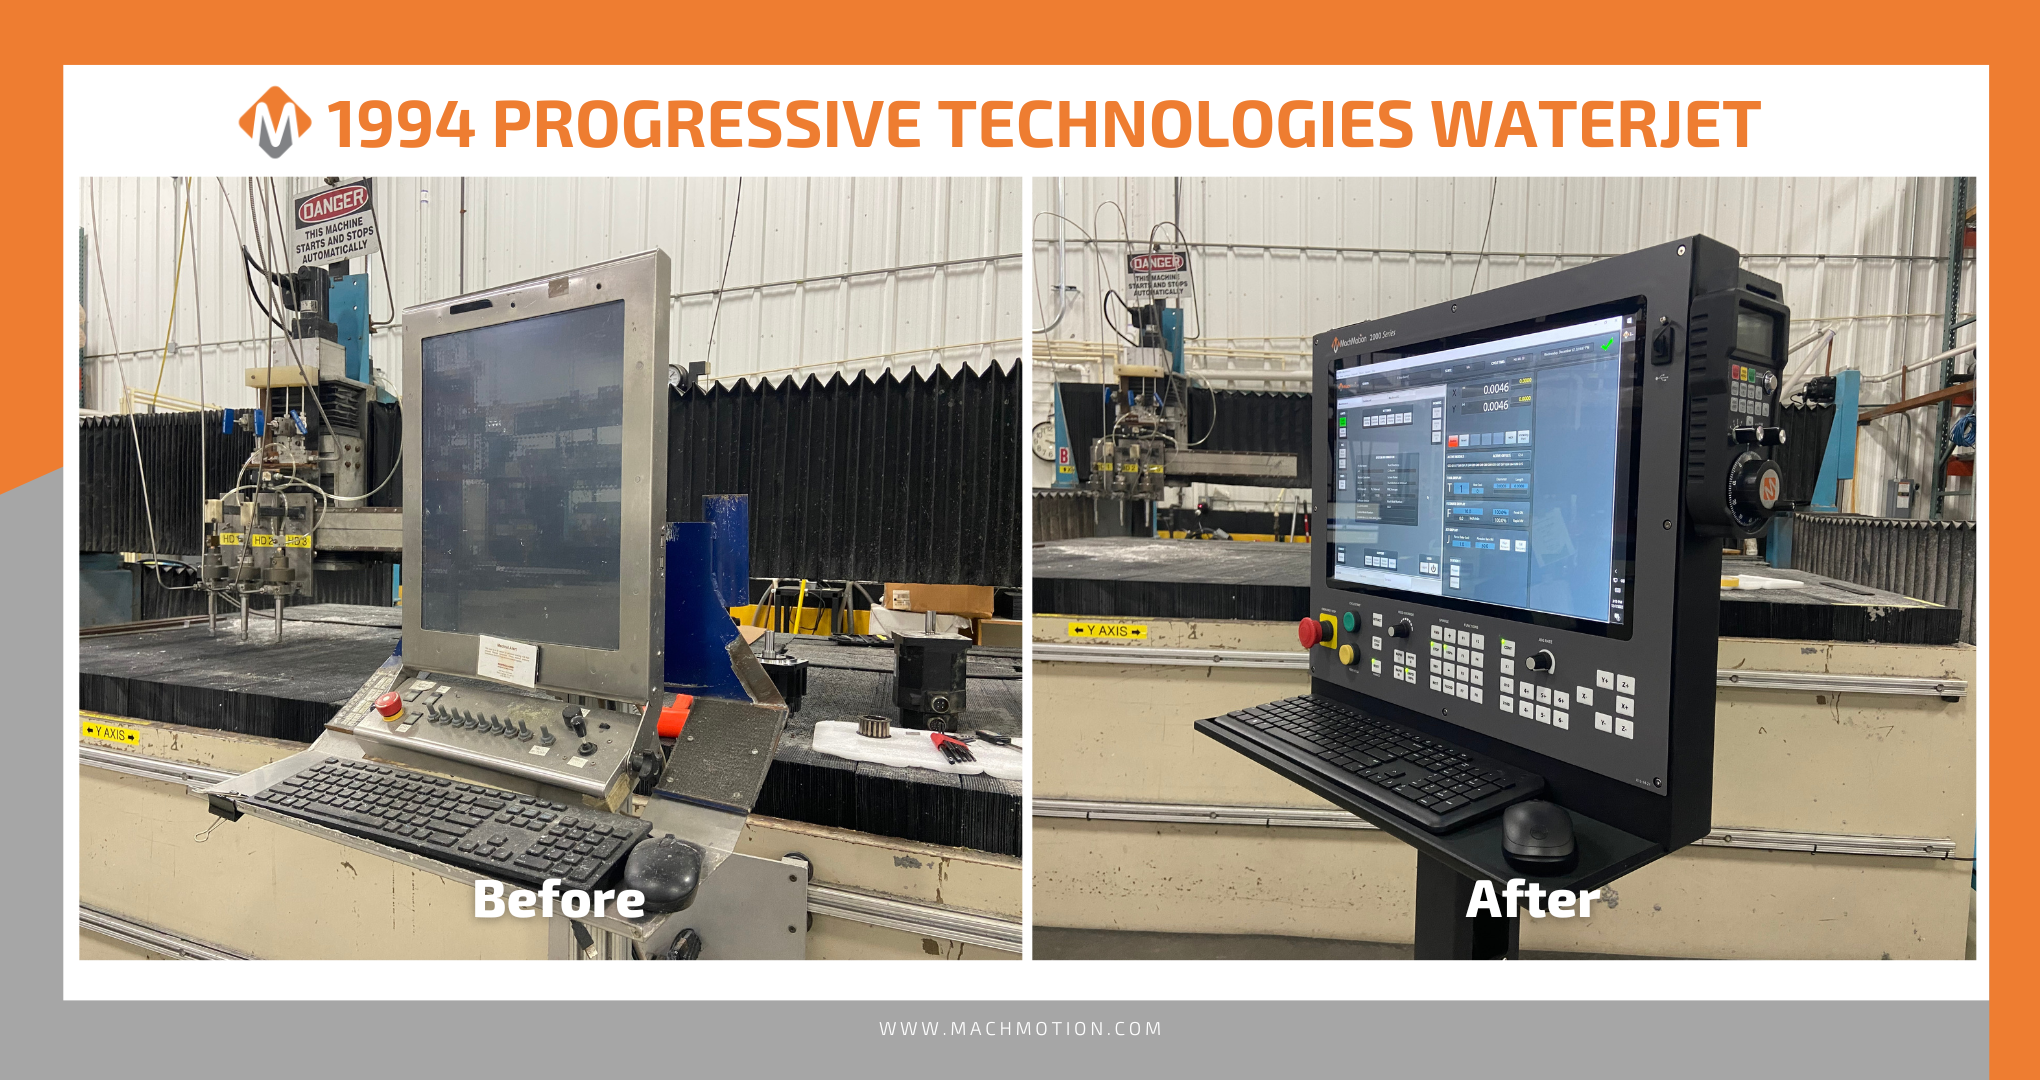
When Charles began his position with Dynatect, their 1994 Progressive Technologies waterjet was not usable and would not run. In order to get the machine back into production, he brought in an automation team. They discovered that the motherboard on the controller was fried. Once they determined the cause of failure, they began seeking out replacement parts to fix the waterjet controls. Unfortunately, they were unsuccessful in finding any. The controller was obsolete and parts were unavailable to obtain. The situation presented Charles with a new decision to be made – either replace the waterjet entirely or have the machine retrofitted. Due to the solid nature of their Progressive Technologies waterjet, they decided to keep the machine and upgrade the controls.
Check out this article below to learn more about the steps involved in a waterjet retrofit and how your company could implement a long-term reliable solution for your aging waterjet CNC controls.
Prior To Install
Scheduling The Waterjet Retrofit
First, we schedule the installation. A typical installation is scheduled for a period of 1 week. In this case, the machine was inoperable and already taken out of production. If your waterjet is still functioning, we recommend choosing to schedule the retrofit during a time when the waterjet is not needed for critical jobs. This allows you to work on other projects while we install the controller upgrade. This also gives our install team time to ensure everything works as expected before placing it back into service. Scheduling downtime in advance also makes it easier for your team to coordinate their schedules and projects, which reduces stress and increases efficiency.
Building & Shipping The Upgrade Package
Once the install is scheduled and your package is custom built in our facility, we ship out the fully integrated system. All of our CNC controller retrofit packages are designed, assembled, and tested at our facility before installation begins. This ensures that everything works together properly before it gets installed and goes into service. Once received, all you need to do is place the package near the machine and our installers will unpack the system and components.
MachMotion’s Installation Process On A Progressive Technologies Waterjet
Steps To Installing A Waterjet Retrofit Package:
- Decommissioning Old Hardware
- Identifying I/O (Inputs & Outputs)
- Mounting New Motors, Electrical Enclosure, & Controller
- Running The Cables
- Powering Up The Waterjet
- Setting Up Software
- Final Machine Check
- Getting Back To Production
- HMI Controller Training With Your Team
Decommissioning Old Hardware
We arrive onsite the week of the install and get to work! We decommission the machine and remove the old hardware. We take out the old controller, motors, wires, and the electrical enclosure. Wires and cables are carefully removed.
Identifying I/O (Inputs & Outputs)
Then, we take the next step to identify all the I/O (inputs and outputs) that we are going to reuse. In this case with Dynatect’s Progressive Technologies Waterjet, we were able to reuse everything.
Mounting New Motors, Electrical Enclosure, & Controller
Next, we mount the new motors, electrical enclosure, and the new MachMotion 21” touch-screen CNC controller. The team runs all the motors wires on the machine to the appropriate VFD or motor contactors in the electrical enclosure.

Running The Cables
Following the mounting of the new hardware, we proceed with wiring & set up. We run all the motors wires on the machine to the appropriate VFDs and adapt all the existing I/O that we reused. During this process we also update our wiring diagram for the Progressive Technologies waterjet. We always leave a complete electrical schematic with our customer when we’re done with the job.
Powering Up The Waterjet
Once the wiring and hardware setup is complete, we power on the waterjet! A preliminary checklist is carried out by our team to ensure the basics are correct, such as the machine’s x, y, and z movements. During this step we make sure everything is running smoothly.
Setting Up Software
Once we confirm the waterjet is in motion, we get started with the software set-up. We set-up the axis directions, overtravel limits, soft limits, and IO.
Final Machine Check
Upon completing the software set-up, we verify all bolts have been torqued and all covers replaced. Once confirmed, we are then ready to integrate the Progressive Technologies back into production.
Integrating Into Production
Our install team takes existing g-code files and load everything on to the machine. Then, we cut some test parts to make sure everything is running properly. Once we confirm the machine is cutting appropriately, we move on to the last and final step in our CNC retrofit process.
Training With Your Team
On the final day of the installation we spend time training your team. Training is led by a member of MachMotion’s install team. This is a required step for maximizing the functionality and efficiency of your new MachMotion system. It’s an important part of our install process & allows enough time for questions and answers from your team on your new controller after the install is completed.
MachMotion CNC Waterjet Retrofit Packages
Each CNC retrofit package is made to order with your specific machine in mind. No two machines are ever alike. Though you may have two machines of the same model, it is important to get all the facts before you begin upgrading your water jet cutters. This is why we recommend scheduling a low-cost machine inspection with us prior to moving forward with upgrading your machine. This will allow us to give you the status of your waterjet’s hardware condition and work with you to get you the machine you want from the one you already own. Get in touch with us through the form below to discuss how to keep your waterjets in production!
We hope you have found this article helpful in understanding our process of installing a MachMotion waterjet retrofit package. Being proactive is better than being reactive. Plan your downtime, don’t let the machine do it for you. If you think your machine may be ready for a controller upgrade, feel free to reach out to us using the form below or by calling us at 573-368-7399.

