11 Oct How To Create OD or ID Dress And Grind Cycles
How To Create OD or ID Dress And Grind Cycles On A MachMotion Controller
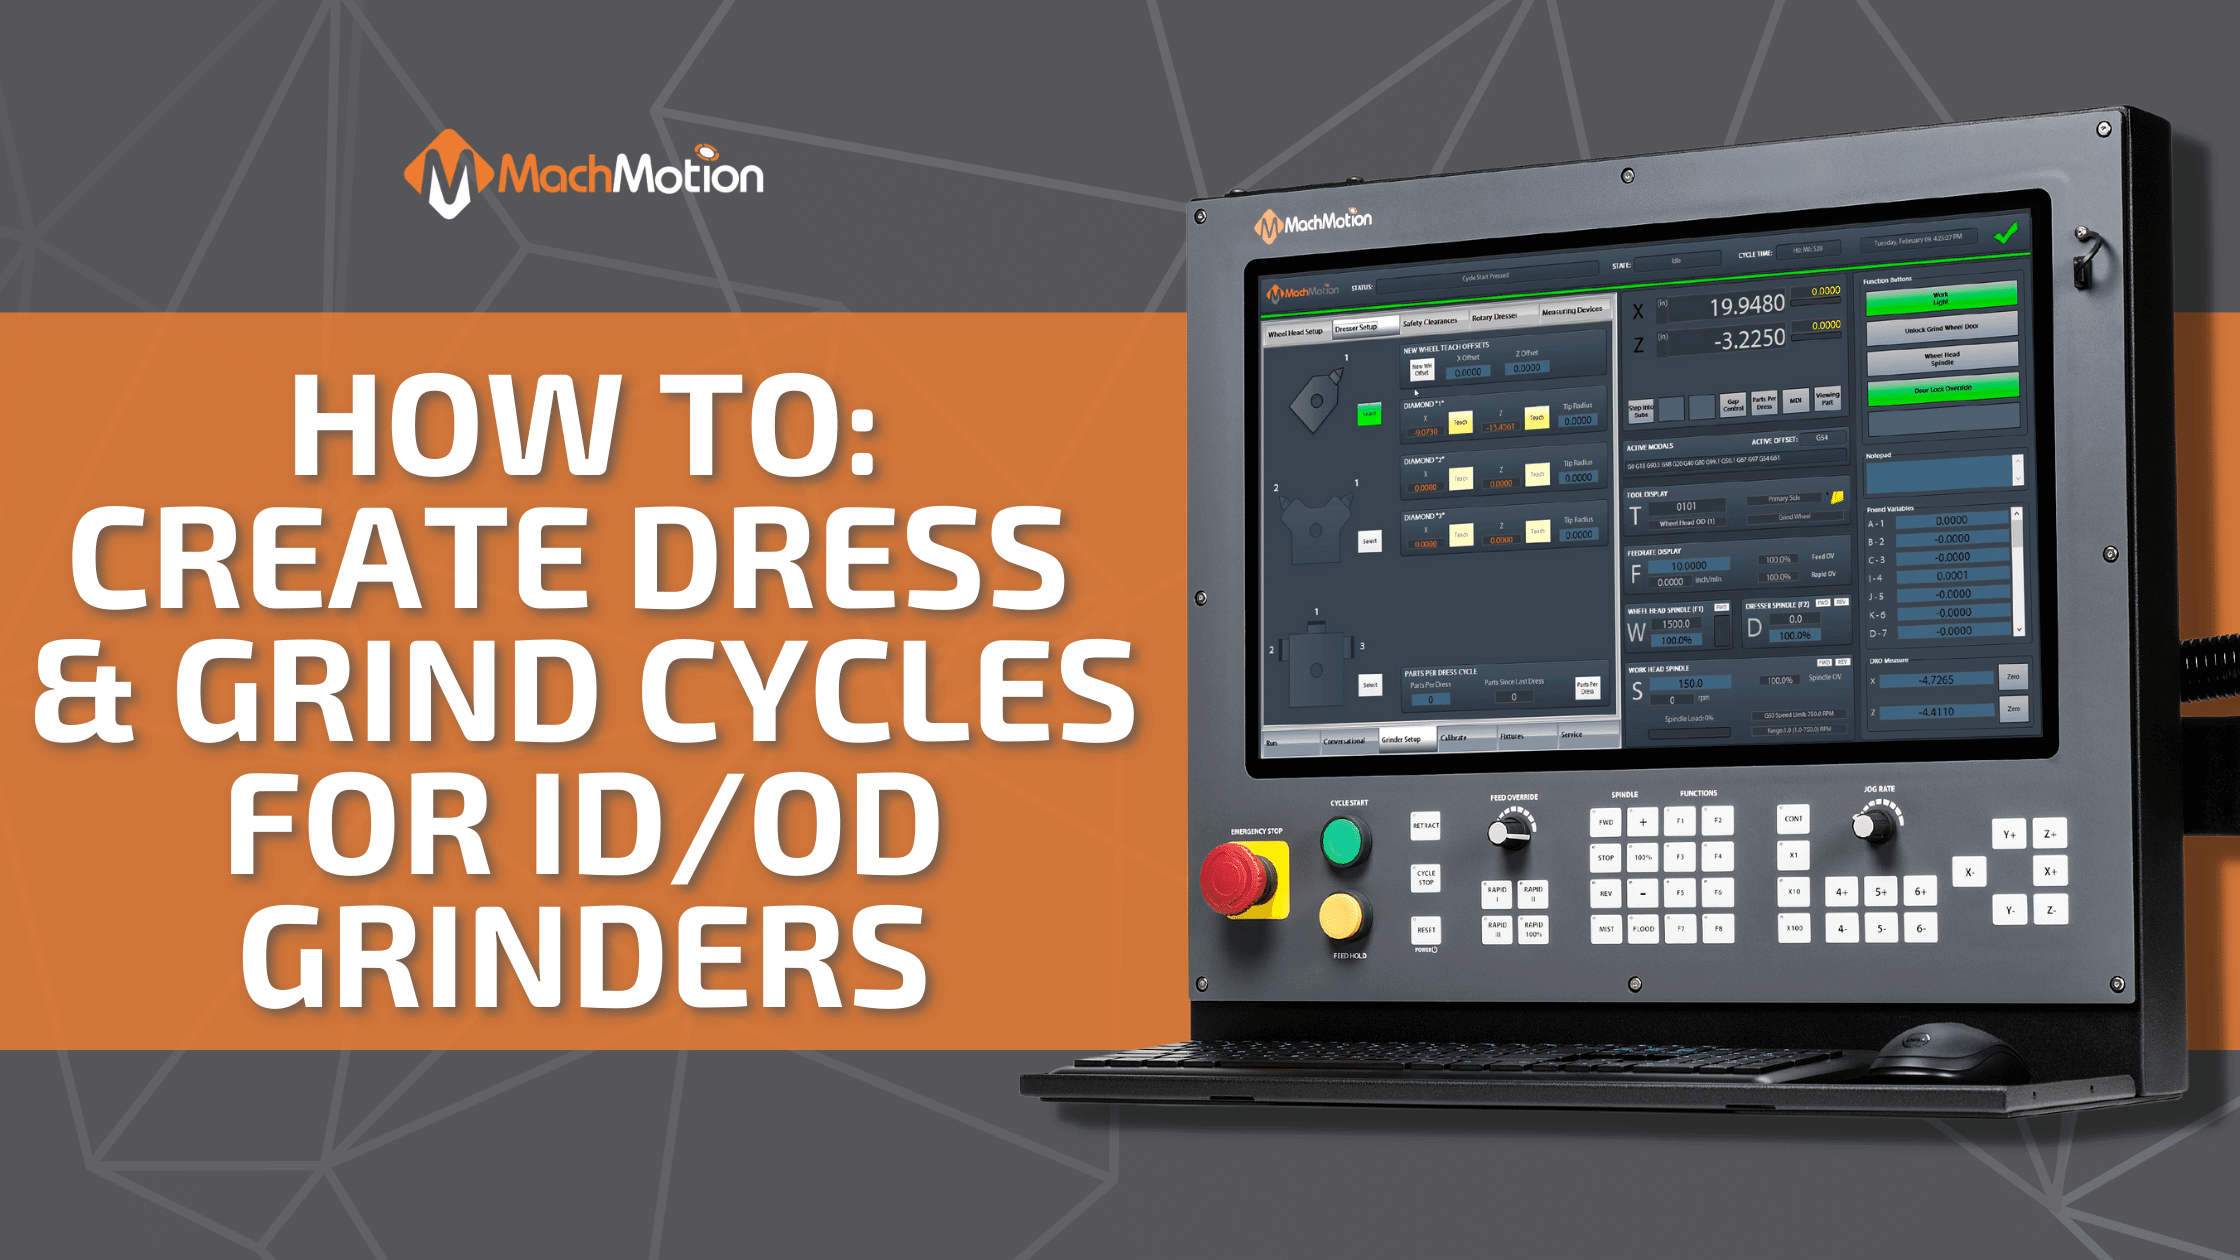
Learn how to create dress and grind cycles on your grinder CNC control with a MachMotion controller!
Create Dress And Grind Cycles
The video below is a quick overview of how to program a Traverse Grind Cycle as well as a Dress Cycle. By utilizing the wireless pendant MPG and teach buttons, the MachMotion CNC can easily teach the start and stop grind positions.
Video Transcription:
All right, so we have just set up our new grind wheel. Our wheel data is all right here, we’ve just put in the diameter there and I just moved the machine over to the diamond in the back here to teach its position, just pressed teach so it knows where it is so we’re ready to go ahead and create a little dress cycle. So I’m going to go ahead with the grind setup I’m going to turn on the wheel head um for this demonstration we’re going to leave the coolant off and I’m going to go ahead and turn the work head off add that to the job.
Now, we want to dress cycle so I’m going to go ahead and start one of these cycles that already comes up here for this I’m just going to take 10th of a thou off and we’ll do three passes so 10th of a thousand per pass um and everything else here we’re gonna go 10 inches per minute we’ll add that to the job and we’ll end a cycle that’s going to be our cycle so we’re just going to dress to the positions we just dressed and we just did a basic dressing wheel circumference cycle there. So I’m going to go ahead and post. We’re going to name our file.
It generates it there you can see it’s just going to come in come down and dress on that diamond so with that we’ll go ahead and just press cycle start. Okay so now since our wheel is dressed we’re going to go ahead and calibrate our part that is loaded in there at this point. we’re going to go to the calibrate tab and I’m going to go ahead and turn on the work head and now I’m going to jog into the position that, basically zero zero for my x and z. So I’m just eyeing up making sure it looks good as I move it in. All right. Now, I’m ready to go ahead and zero my z I’m up to the shoulder where I want to start my grind so I’m going to zero my z and then I’m going to
go ahead and teach the machine for my x position because I’m just touching the material make sure I’m still touching. And now I’m going to back up and we’ll actually measure that part. All right, now we’re going to go ahead and stop the work head let me measure this. I’m going to just type that in right on the screen here 1.520 and now I’m going to update my position and it’ll calibrate the x-axis to know the diameter of the part as I’m creating my program. Now, we’re going to go ahead to the conversational and I’m going to create a new file here this time on the grind setup we’re going to turn on the work head also at 150 rpm.
We’re also going to do a cylindrical grind now and I already have it a traverse grind with in-feed in both swing positions selected here I’m gonna set my allowance to zero my increments to a tenth of a thou and we’ll just do our in feed at one inches per minute my start diameter was 1.52 about there and my finished diameter. Gonna be 1.519. Actually, I’m going to take off a little less, there we go. And my start position I’m going to start at zero and I’m gonna go an inch and a half to the swing position two and my feed rates there should be good.
I’m gonna go ahead and add that to the job add our end cycle and I’m gonna post and make sure that that looks right, create a name for the file. There we go that looks right. I’m going to go ahead and let’s grind this part. Just as I’m coming in I’m going to slow it down to make sure it looks right. There we go.
If you enjoyed the video on dress and grind cycles and are interested in a controller upgrade for your grinder, click here to learn more!

