03 Jan HOW TO ADD A USER BUTTON
HOW TO ADD A USER BUTTON
Welcome to another MachMotion minute, let’s make your day a little more automated! In this article we will talk about how to add text to display a value and add a user button to your MachMotion’s control software.
OVERVIEW
A step by step guide to adding your own user button, adding text and then assigning a value to MachMotion’s controller software.
ABOUT MACHMOTION
MachMotion provides industrial retrofits and controls, they also provide specialty solutions for application/processes that require unique control solutions. Additionally, MachMotion provides top of the line consultation and support. They are dedicated to their customers and deliver high-end products and services. For more information or to speak to a specialist please visit MachMotion.
OUTPUT CONFIGURATION
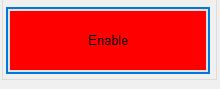
1. First let’s make sure we are in a disabled state. To do this click the bottom button “Enable”, if it is flashing red we are in a disabled mode.
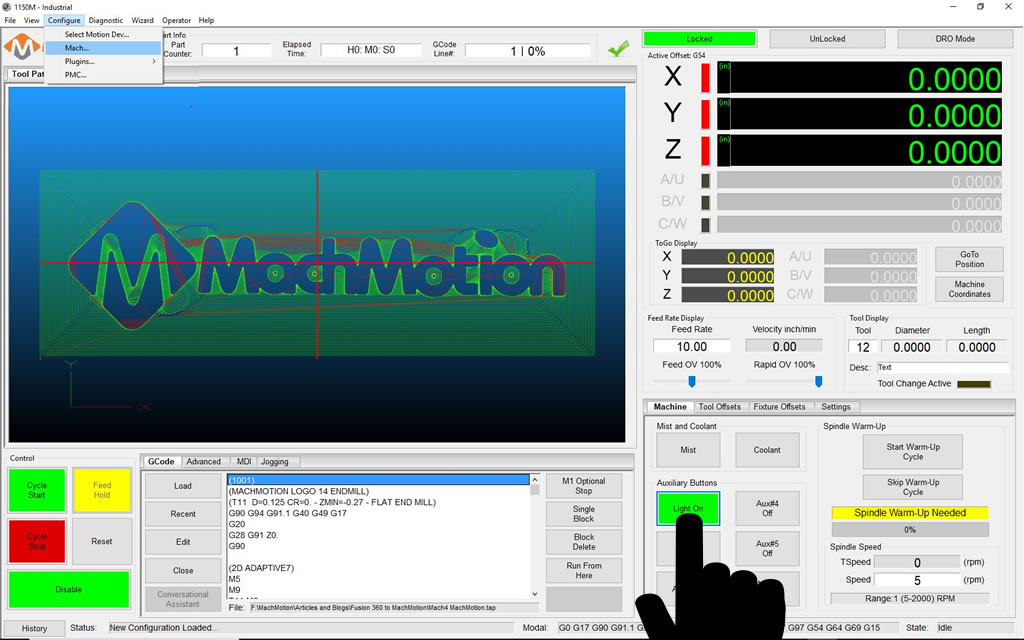
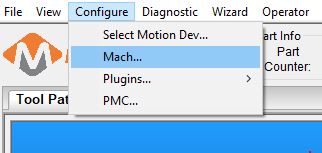
2. Now go to the top menu and select “Configure”. In the drop down select “Mach…”, you should now see a window with our Mach Configuration settings.
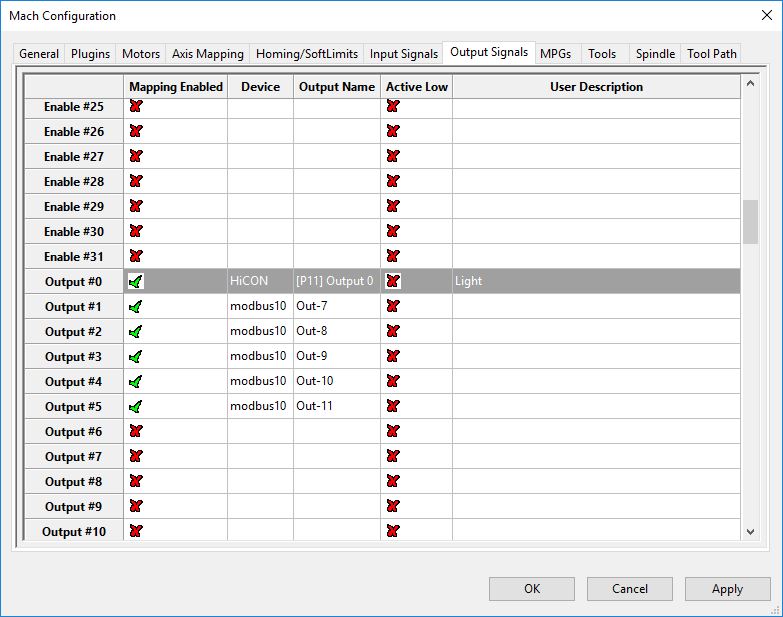
3. In the “Mach Configuration” window select the “Output Signals” tab. 4. Under “Device” select “HiCON”.
5. Under “Output Name” select “Output 0”.
6. Under “User Description” type “Light”.
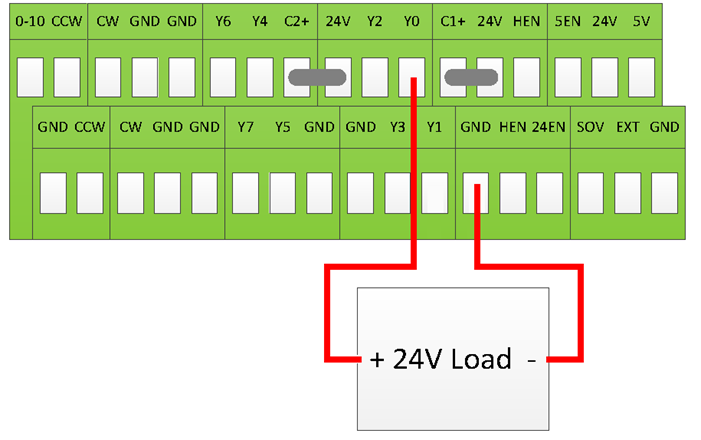
7. Now we set up the output. This is on Y0 of the Apollo board
Setup Screen
8. Back in the MachMotion control software, select “Settings” in the right side tab panel.
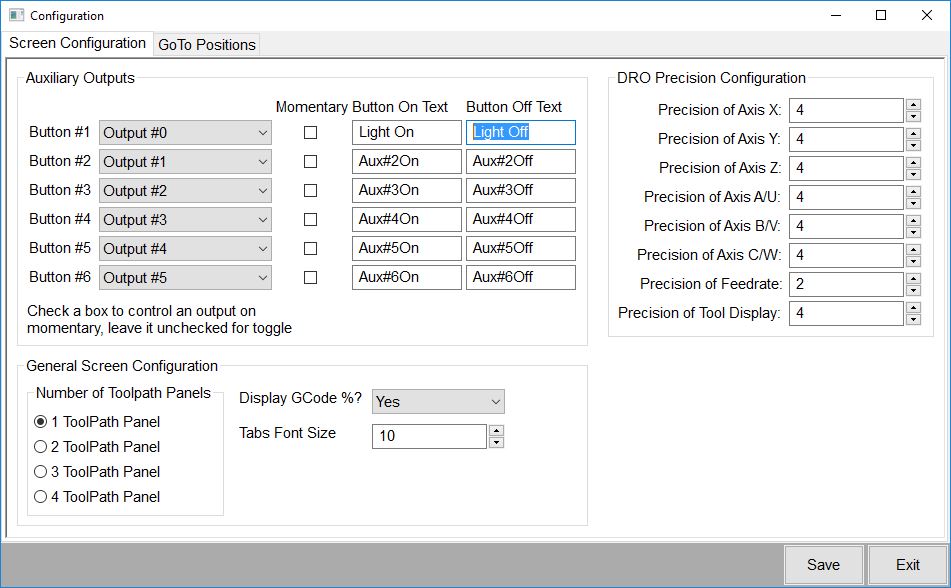
9. Under “Settings” select the “Screen Configuration” button.

10. Set the output that you are using from the drop down for “Button #1”. Now type in the text you want displayed when de/active.
11. Make sure to click “Re-Compile Scripts” for the changes to take effect.
12. Make sure to “Enable” the system by clicking the flashing red “Enable” button in the bottom left corner.
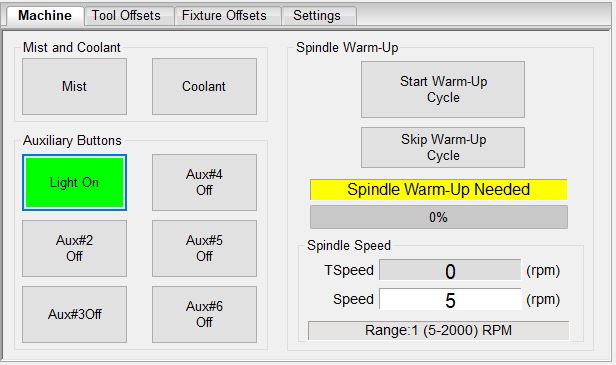
13. Click the “Light On” button from the Machine tab to raise or lower the hood.