14 Mar 10 Steps To A CNC Controller Retrofit
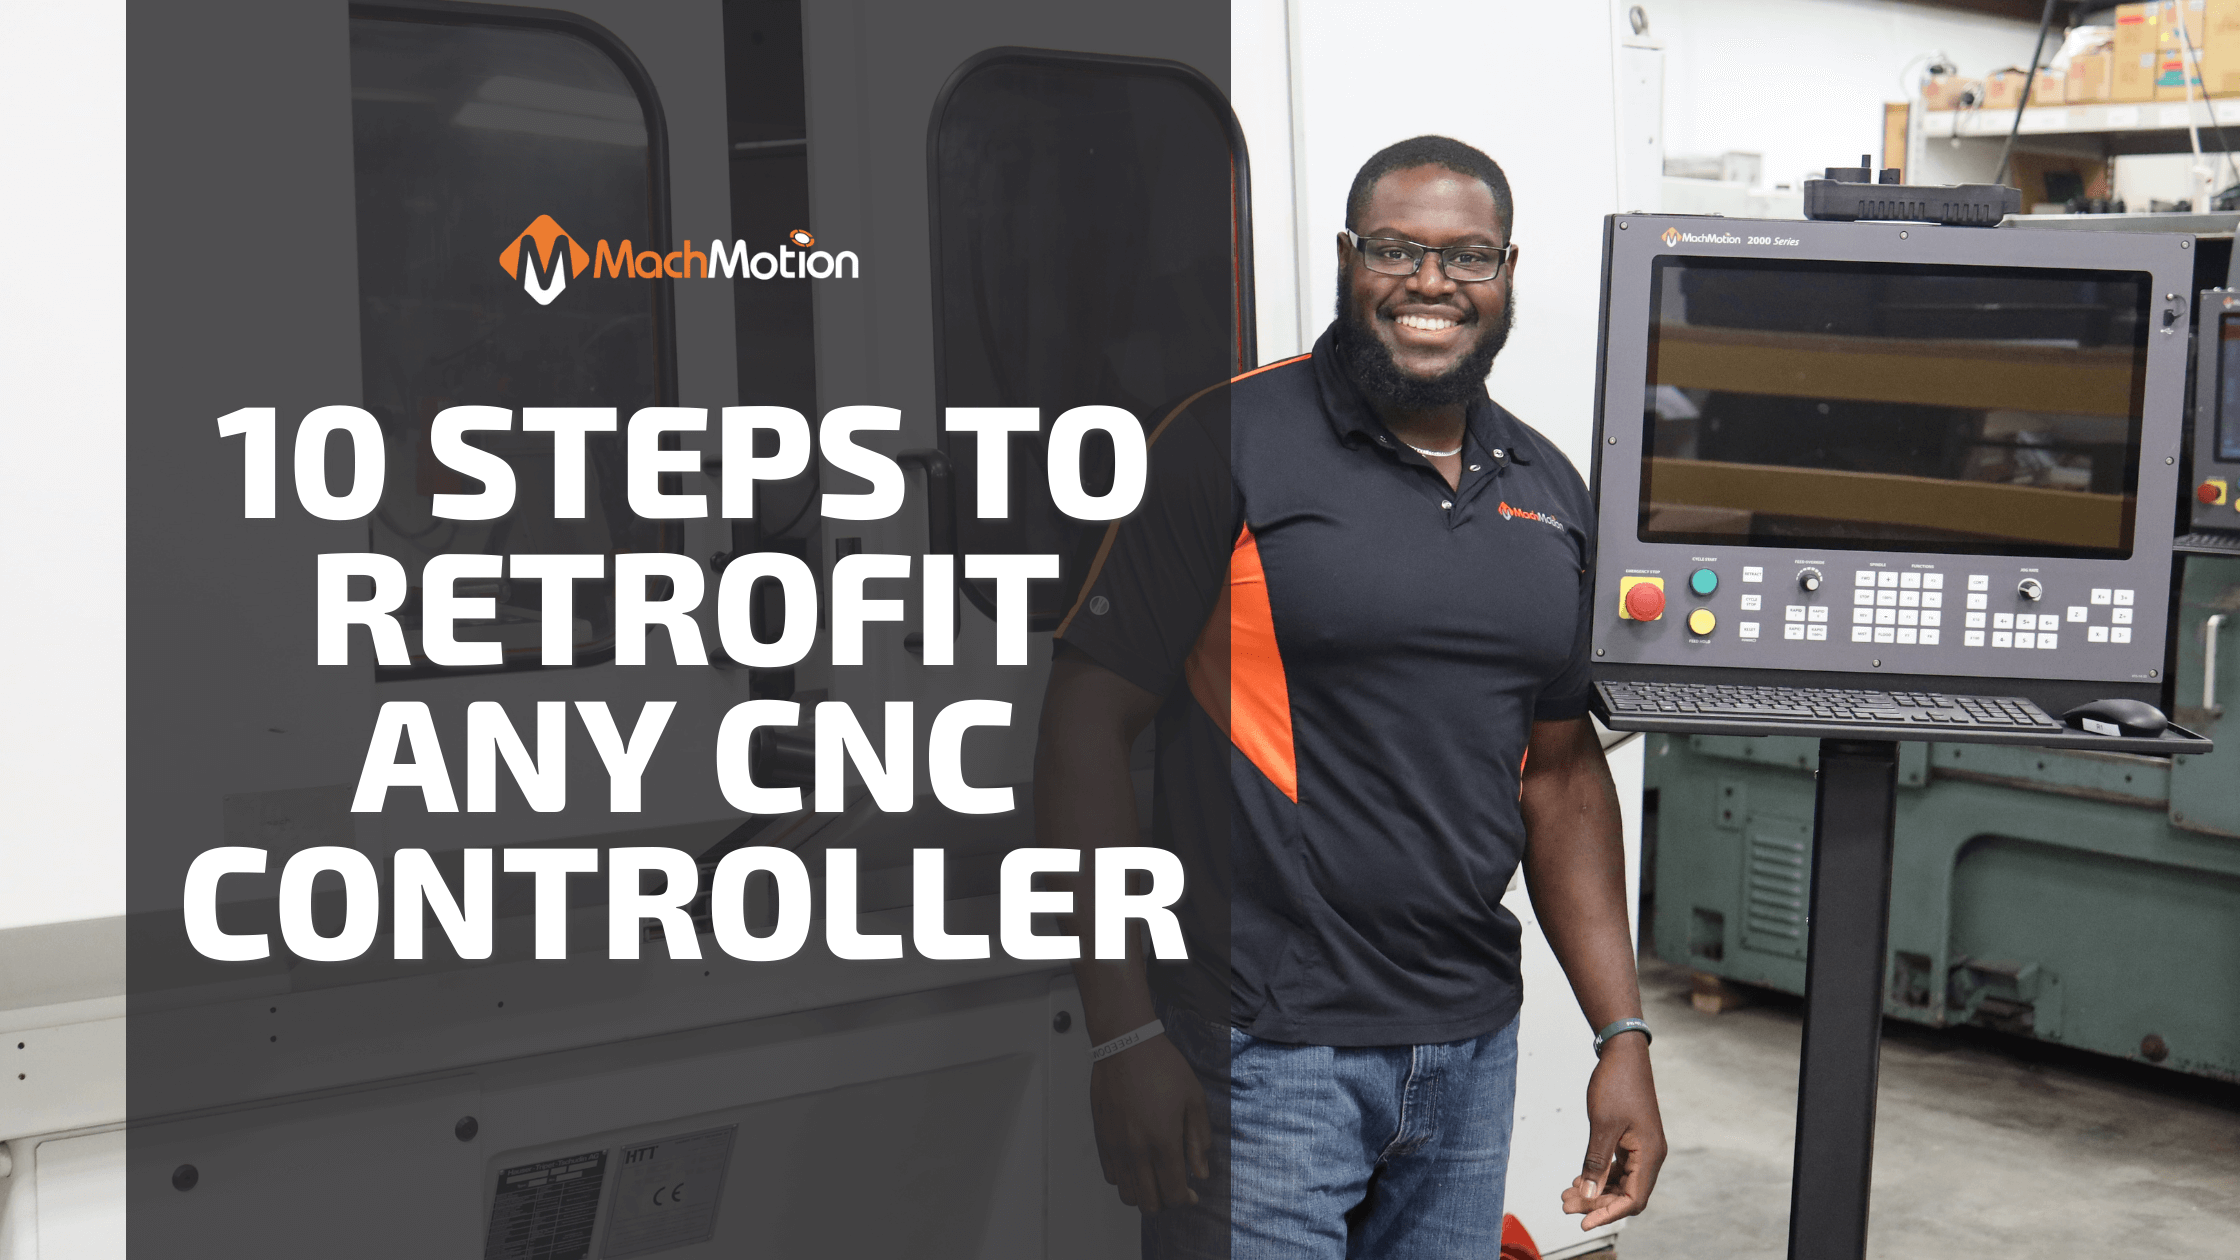
10 Steps To A CNC Controller Retrofit

What to consider when upgrading existing machines with a CNC Controller Retrofit!
We understand, retrofitting any CNC machine controller can seem intimidating at first glance. Feeling confused about the process of a CNC retrofit from start to finish? Follow our simple ten-step guide to completing a successful CNC machine controller installation. Although the very fine details will always vary from machine to machine, we’ve compiled a high-level overview of the retrofitting process that can help you better understand what it takes to install a new controller on your current CNC machines. Retrofitting a CNC machine controller, electrical enclosure and servos to replace an existing CNC control system is very simple if you follow these ten easy steps – And if you do it right, you will get to enjoy the benefits of an upgrade without purchasing a brand new machine!
Step 1: Create a Plan
As anyone performing a retrofit would assume, everything needs to fit together seamlessly so you can hit “go” on that first job and stay focused on what matters – productivity. No matter the size of your retrofit project, some planning & assembly is required. Once you receive your CNC retrofit kit, open up your packages and lay out all the components – your new motors, CNC electrical enclosure, and CNC control – and read all instructions. Make sure you have a good understanding of what you will be removing and replacing. As you do this, ask yourself the following questions:
- Where do I want to mount the new CNC control?
- Are there any mechanical interferences with mounting the new motors and running the new cables? How will I modify the mounting mechanism if I need to?
- Do I need any additional hardware to mount the new CNC electrical enclosure to the machine?
Step 2: Remove Old Components
Safety is key when it comes to CNC controller retrofits, especially if you are not an electrician. Take all necessary precautions to ensure the electricity to the machine is off before working on removing old components. Once your plan of action is clear, it’s time to get to work. Remove the old controller & old motors. When removing wires, DO NOT CUT THE WIRES OR CABLES, unless you are 100% sure they will not be needed. Make sure that you’re extra careful when removing these components! Unscrew all the wires that are connected to your CNC electrical enclosure after confirming that they are labeled correctly (you don’t want to have to track down an unmarked wire!). Finally, remove the CNC electrical enclosure and set all the old hardware aside.
Step 3: Mount the Electrical Enclosure
Once you’ve removed all of the old components, it’s time to begin mounting the new CNC electrical enclosure for your machine. Mount your new CNC electrical enclosure using the original mounting point on the machine, if possible. If your new enclosure won’t fit where the old one did, measure and fabricate new mounting brackets so that your CNC electrical enclosure can be mounted in an appropriate location on the machine without causing injury or damage to anyone nearby or to other machines or objects. Be sure that whatever method you choose for attaching these brackets and mounting points will be able to support the weight of your new CNC electrical enclosure.
Step 4: Mount New Motors
The initial step is to mount the new motors, but you have to make sure you verify the condition of the ball screws and inspect the ways first. You’re going to want to look for any marring or groves and signs of lack of oil. If there are any problems with the mechanical components of your machine, then you’re going to want to repair them before continuing. MachMotion partners with rebuilders nationwide to provide mechanical support to those that need assistance with replacing or refurbishing parts. This will help provide a smooth transition when installing the new motors. Once the condition of the mechanical components has been completed, you are ready to design and fabricate the new motor adapter plates. You may have to replace or bore out the couplers if the new motor shaft size is different.
Step 5: Mount the New Control
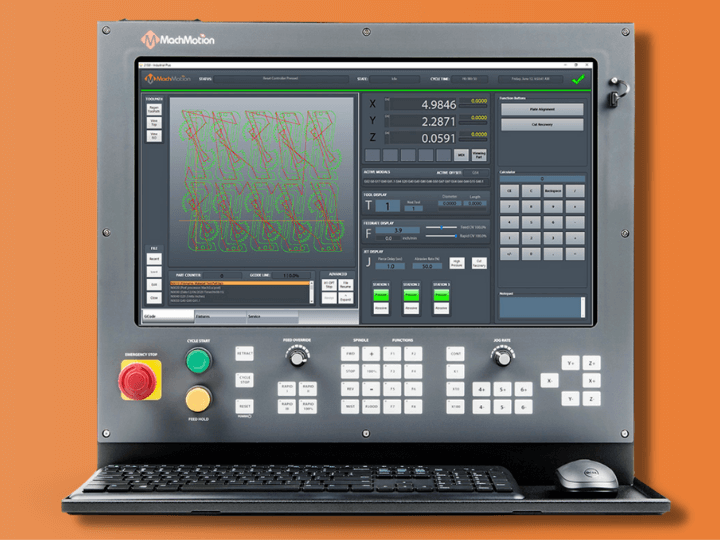
Now, you are ready to mount the new CNC machine controller. Before installing the control arm, make sure the control will be at the correct height and location for an operator to comfortably run your newly upgraded CNC machine. Carefully mount the control arm to the machine. Once the arm is secured, mount the CNC control to the arm.
Step 6: Run The Cables
Run both encoders & power cables from the motors to the CNC electrical enclosure. When installing the cables be conscious of pinch points and sharp edges when running the cables. Use the provided cable glands or drill and install new glands to route the cables through the machine.
Step 7: Wire I/O and Other Motors
Now begin to connect all I/O wiring in appropriate locations on the panel. Refer to the old machine schematics. Write everything you wire in on your new CNC electrical enclosure schematics so you have a complete schematic when the retrofit is complete. Run all other motors on the machine to the appropriate VFD or motor contactors. Confirm the motors are wired for the correct voltage. Set the motor overloads to match the motor-rated amperage.
Step 8: Power On & Setup The Software
It’s time to connect the power to your machine and turn it on! You are now ready to reset the estop circuit and confirm that the machine does power up. Lower the jog rate and carefully jog each axis to confirm you have motion. Once you’ve confirmed the machine is moving, follow the control setup manuals to set up your axis directions, overtravel limits, units, soft limits, any extra spindle motors, and IO. Run a test part to confirm the setup process is complete for your CNC controller retrofit! If you run into any issues during your install process, our experts on the MachMotion customer service team will be happy to assist you.
Our remote support team is available to help your team during the installation process. We can answer any questions and help guide you through the process. We are committed to ensuring your team can get your machines back in production. When you call into MachMotion, you’ll talk to a real person, based right here in Missouri, every single time. No automated systems or long wait times, just a team of highly-trained specialists ready to serve you.
Step 9: Assess the Manufacturing Process
Now with the latest technology, it’s a good time to assess your CNC controller retrofit’s new features. Take the time to identify widgets, buttons you can add to the screen to control machine functions to personalize your controls and make your facility more efficient and simplify your unique process. Ask yourself the following questions:
- Are you posting your files from the office? Join your control to the local wifi network!
- What buttons do you press most often? Set up those focusing on your wireless pendant or put them on your touch screen!
- What other safety features or advanced setup procedures can you use? Light curtain? Probe? Laser sensors? Let us know, we can assist you with choosing the best options.
Step 10: Run with Confidence
Verify all bolts have been torqued and all covers have been replaced. We recommend cutting some test pieces before integrating the machine back into production. Now, you are able to focus on business as you run with confidence! No more worrying if your machine is going to be able to produce what you need on time!
Time To Upgrade with MachMotion!
It doesn’t look like other CNC machine controllers, because…well, it’s just not the same old thing. Our controllers are loaded with the latest technology that lets your CNC machine run even better than it did the first day you bought it. We work closely with our rebuilder partners to bring our customers mechanical solutions as well when upgrading. If your machine needs a new component along with the upgrade, we can facilitate the necessary parts and service to leave you with a mechanically sound CNC machine. The MachMotion CNC Controller Retrofit solution is the only choice for users who want an easy-to-install CNC controller.
We’re so confident in our retrofit solutions that we offer the only optional 5-Year warranty in the industry on all of our controllers and a 1-Year warranty as standard. We also include FREE Remote Support for the lifetime of the CNC Controller, guaranteeing that your team can continue cutting parts and making chips no matter what questions you may come across once your machine is back in production!
CNC Machine Controllers That Are A Good Fit For A CNC Controller Upgrade:
AMC
Mitsubishi
Delta Tau PMAC
Mazak
Allen-Bradley
Centroid
Bridgeport
Anilam
CNC Machine Types That Are A Good Candidate For A CNC Controller Retrofit:

Contact us today!
Our experts are waiting to help you retrofit your CNC machine controller with our best-in-class solution! — Fill out the form below and contact us today

