23 Sep MachMotion Support Mounting X-Axis Servo Motor
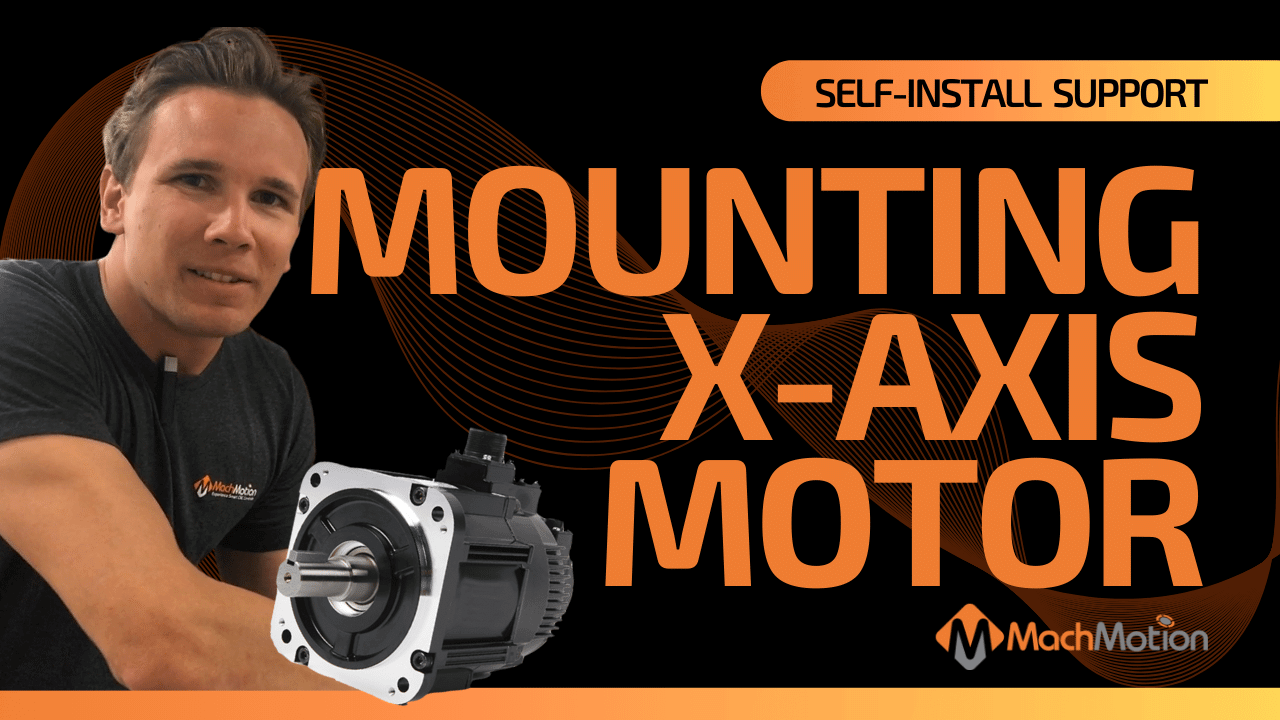
MOUNTING X-AXIS SERVO MOTOR
Learn how to mount the X-axis motor on a C.R. Onsrud Panel Pro CNC router.
How To Step-By-Step:
- First, you want to establish whether or not you need to obtain or fabricate a new mounting place for the x-axis motor and gearbox, or if you can use the existing one. In the example video, we adapt our new x-axis motor and gearbox with the existing motor mounting plate.
- Next, you will need to bolt on the mounting plate, x-axis motor, and gearbox. You will want to reseat the pinion gear onto the rack. Be sure when putting this part on that the orientation of the wire connectors are accessible and won’t create an awkward loop with your wires. You can pull the wire in to make sure it’s going to fit between the cover and the connector.
- Then, tighten all the components down. Be sure the x-axis motor and components won’t come loose during machine operation.
- Lastly, readjust the tension to get close to or match the OEM spec and run the cables!
VIDEO TRANSCRIPTION:
Hi everyone, this is Josiah with MachMotion and I’m working here on the C.R. Onsrud CNC router and I’m putting the X-axis motors back on here. So what we’ve done is actually managed to adapt our new servo and new gearbox with the existing motor mounting plate so we didn’t have to get anything new here. We bolted it on and reseated the pinion gear onto the rack and one thing we really want to make sure of when putting this on is the orientation of these wire connectors here. We don’t want to mount these clocked down. Where we have an awkward wire loop that we can’t fix. So we pulled the wire in making sure it’s going to fit between this cover and the connector here. Tighten everything down, readjusted our tension to match the OEM spec, and now we just need to pull our cables.
Interested in learning more about our CNC router controller retrofits? Click here!


